HOW TO MAKE DIY BATH BOMBS
DIY BATH BOMBS!!!

Hi everyone welcome back to a new blog post on Colourwheel. Today I am going to be doing a post about HOW TO MAKE DIY BATH BOMBS with no cream of tartar, citric acid and no epsom salt because to be honest I just did have any of them in my house and I doubt that most people have any in their house. Ok, so lets get started.P.S. sorry there are dates and times on the picture only realised they were there after I had taken all the pictures.
YOU WILL NEED:
INGREDIENTS:

- 170g of baking soda
- 85g of cornflour
- 5 tablespoon lemon juice
- 1 tablespoon water
- 2 teaspoon salt
- food colouring (optional)
- essential oil (optional)
EQUIPMENT:
- 2 bowls
- tablespoon
- teaspoon
- a mold
METHOD:
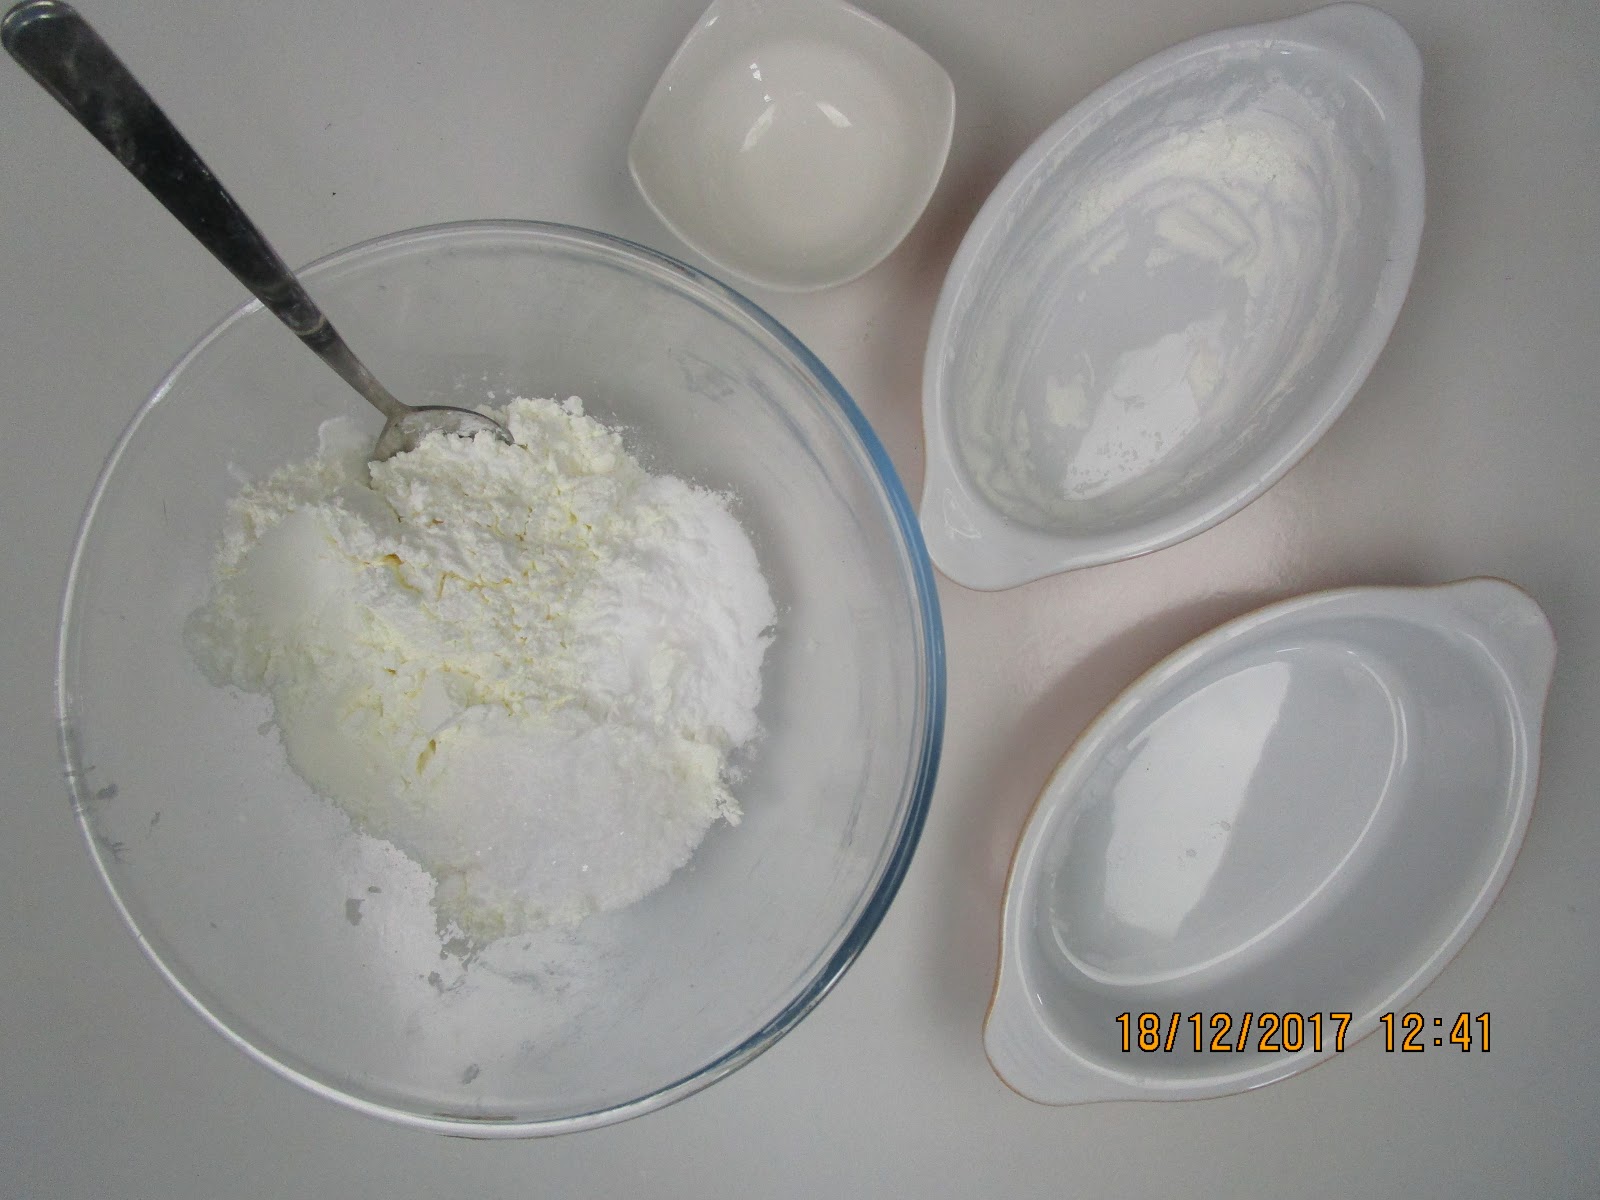
1.So first you will need to get all your dry ingredients( cornflour, salt and your baking soda) which you can usually find in your local supermarket and put all of them into a big bowl. Then you will need to mix them together until the are all combined.P.S DON'T EAT THIS MIXTURE IT TASTE DISGUSTING TRUST ME I TRIED IT ( I am an actually walking idiot ) haha

2.Then you will need to get your wet ingredients (lemon juice and water ) and you will only need to pour them into a small bowl and mix them together. If you want you could squeeze the lemon juice fresh or you could just by a bottle of lemon juice in the store. I tried to squeeze the some fresh lemon juice but then I realised how weak I am and I couldn't get any out so I went to the shop and bought some( It was so much easier than squeezing it out fresh)

3. Now you will start slowly adding the wet ingredients into the dry ingredients and make sure you only do a tiny bit at a time because it will start fizzing up when you add the wet ingredients in and if you add in to much you will loss the fizz for when you but your bath bomb in your bath.

4. After you have finished adding in the wet ingredients to the dry ingredients you can started adding in food colouring and essential oil but these are optional so if you don't want to add these then that is fine and you can skip this step.I decided to add 2 different shades of blue because then I can make patterns in my molds. You can tell if your mixture is to dry or wet by picking up a bit and squeezing it together and if it hold then it is ready to be put in the molds.

5. After that you can begin to press your mixture into your mold adding a piece at a time and if you want you can make patterns using the different coloured mixtures.Make sure that the mixture is firmly packed into the mold and then you leave them in the fridge for 24 hours to set.

6.And the final step is to take your DIY bath bombs out of their molds and enjoy your new colourful bath bomb in you bath.

SOCIAL MEDIA:
 |
colourwheel12

TWITTER:
@colourwheel123
ENDING:
Thank you so much for reading this post .I really hope you enjoyed it and decided to try and make some bath bombs yourself. See you next week.
''Don't worry about failure, worry about the chances you'd miss if you don't even try''
COLOURWHEEL


Comments
Post a Comment